Paso 5: El código... (En realidad, una biblioteca)
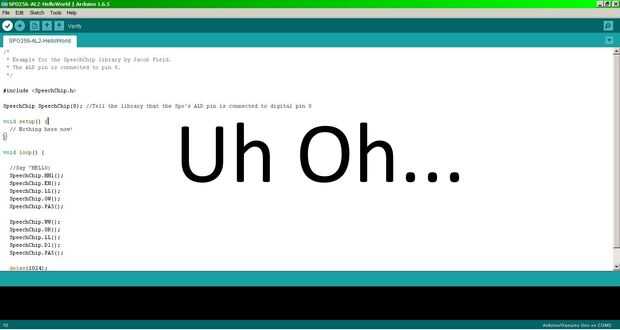
Me tomó mucho tiempo a este programa. (Bueno, ok, tal vez 48 horas de trabajo) Pero no te preocupes, porque he hecho una bonita biblioteca para su uso! La biblioteca no tiene capacidades de texto a voz, por el contrario decides que alófonos a arduino para enviar.
Para agregar la biblioteca, desde el IDE de Arduino, haga clic en "Boceto", luego "Incluyen la biblioteca", luego "añadir. POSTAL de biblioteca". Vaya a donde guardaste la biblioteca SpeechChip para seleccionarlo y haga clic en "Abrir". Ahora podrás utilizar la biblioteca de SpeechChip.
Aquí está el código para el bosquejo de ejemplo:
/* * Example for the SpeechChip library by Jacob Field. * The ALD pin is connected to pin 8. The allophones DD1, * DD2, and SS have been renamed to D1, D2, and S for * conflict reasons. */ #include SpeechChip SpeechChip(8); //Tell the library that the Spo's ALD pin is connected to digital pin 8 void setup() { // Nothing here now! } void loop() { //Say "HELLO: SpeechChip.HH1(); SpeechChip.EH(); SpeechChip.LL(); SpeechChip.OW(); SpeechChip.PA5(); SpeechChip.WW(); SpeechChip.OR(); SpeechChip.LL(); SpeechChip.D1(); SpeechChip.PA5(); delay(1024); }
