Paso 4: código
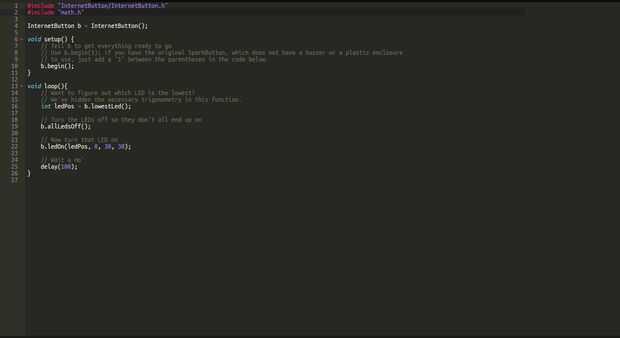
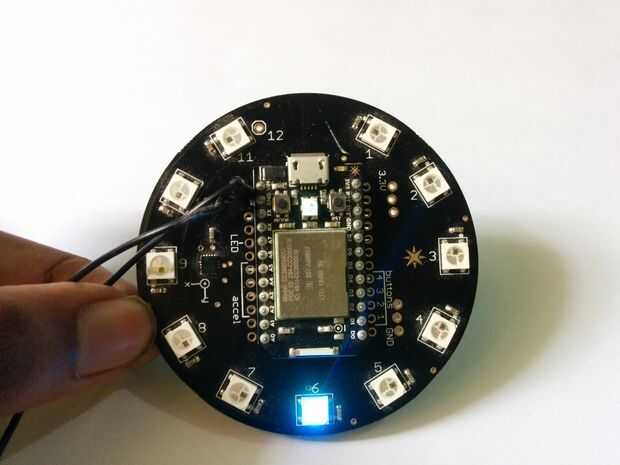
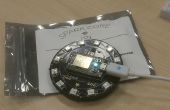
El código para cargar al núcleo puede ser encontrado abajo, es muy simple. Además, no dude en hacer cualquier modificación en el código y dejar un comentario abajo si encuentras cualquier error.
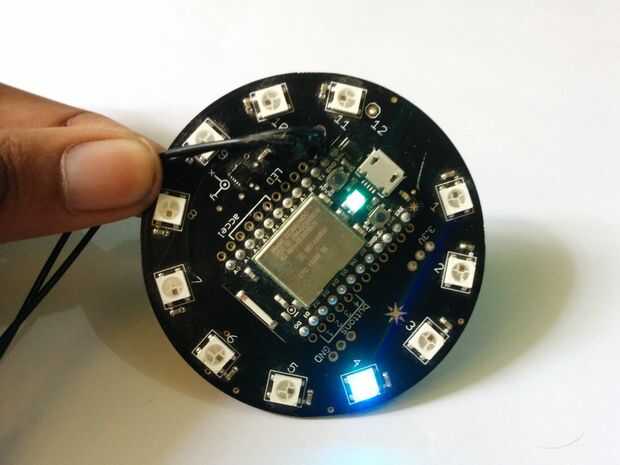
Si está utilizando una versión anterior de internet (como yo) el botón, asegúrese de que cambia
b.begin();
Para
b.begin(1);
#include "InternetButton/InternetButton.h"#include "math.h"InternetButton b = InternetButton (); void setup() {/ / enviar a b para tener todo listo / / uso #include "InternetButton/InternetButton.h"#include "math.h"InternetButton b = InternetButton();void setup() { // Tell b to get everything ready to go // Use b.begin(1); if you have the original SparkButton, which does not have a buzzer or a plastic enclosure // to use, just add a '1' between the parentheses in the code below. b.begin(); }void loop(){ // Want to figure out which LED is the lowest? // We've hidden the necessary trigonometry in this function. int ledPos = b.lowestLed(); // Turn the LEDs off so they don't all end up on b.allLedsOff(); // Now turn that LED on b.ledOn(ledPos, 0, 30, 30); // Wait a mo' delay(100); } Si tienes el SparkButton original, que no tiene un zumbador o una caja de plástico / / para usar, sólo tiene que añadir un '1' entre paréntesis en el código siguiente.
