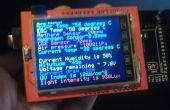
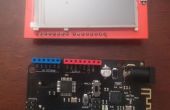
Paso 2: Cargar el código
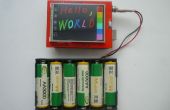
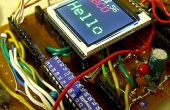
#include <Adafruit_GFX.h> #include "SWTFT.h" #define LCD_CS A3 #define LCD_CD A2 #define LCD_WR A1 #define LCD_RD A0 SWTFT tft;void setup(void) { Serial.begin(9600); Serial.println("TFT LCD Shield Test"); tft.reset(); uint16_t identifier = tft.readID(); Serial.print("Your LCD driver chip name is: "); Serial.println(identifier, HEX); tft.begin(identifier); Serial.println("Working Well"); }void loop(void) { for(uint8_t rotation=0; rotation<4; rotation++) { tft.setRotation(rotation); testText(); delay(2000); } }unsigned long testText() { tft.fillScreen(0x0000); unsigned long start = micros(); tft.setCursor(0, 0); tft.println(); tft.setTextColor(0xFFFF); tft.setTextSize(3); tft.println("Hello World!"); tft.println(); tft.setTextColor(0xFFE0); tft.setTextSize(2); tft.println("A Yellow Text Here"); tft.println(); tft.setTextColor(0x07E0); tft.setTextSize(3); tft.println("A Green Text Here"); return micros() - start; } En el IDE de Arduino, seleccione el puerto COM, seleccione la placa Arduino Mega. Luego subir estos códigos en la placa Arduino Mega. Podrás ver que los códigos están trabajando simplemente.
