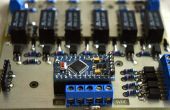
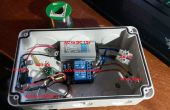
Paso 1: Con 433 MHz mando interruptores en Arduino: el SelectRemote
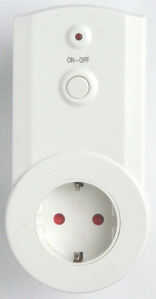

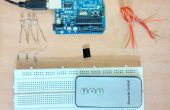
La SelectRemote no. 1728029 es un receptor voluminoso que cuenta con un dial giratorio en la parte trasera con 5 posiciones. Viene con un auricular que tiene solo 4 opciones.
Si utiliza la biblioteca de RemoteSwitch, el protocolo de Blokker3 es el que se utilizará. El programa será como sigue:
#include <RemoteSwitch.h> BlokkerSwitch3 blokkerTransmitter(7); void setup(){} void loop() { blokkerTransmitter.sendSignal(1,true); blokkerTransmitter.sendSignal(2,true); blokkerTransmitter.sendSignal(3,true); delay(2000); blokkerTransmitter.sendSignal(1,false); blokkerTransmitter.sendSignal(2,false); blokkerTransmitter.sendSignal(3,false); delay(2000); } Para utilizar la biblioteca de RCSwitch, necesita saber los códigos para ON y OFF para cada dispositivo individual.
Estos son:
1: 0000 0000 0011 1111 0000 0011 //4129536
2: 0000 0000 0000 1111 0000 0011 //983808
3: 0000 0000 0011 0011 0000 0011 //3343104
4: 0000 0000 0000 0011 0000 0011 //197376
1 OFF: 0011 1111 0000 0000 0000 0000 //4128768
2 OFF: 0000 1111 0000 0000 0000 0000 //983040
3 OFF: 0011 0011 0000 0000 0000 0000 //3342336
4 APAGADO: 0000 0011 0000 0000 0000 0000 //196608
con "0" es 240us de 740us apagado y "1" es 740us en 240us apagado
Programa con RCSwitch será:
#include <RCSwitch.h> RCSwitch mySwitch = RCSwitch(); void setup() { // Transmitter is connected to Arduino Pin #7 mySwitch.enableTransmit(7); // Optional set pulse length. // mySwitch.setPulseLength(320); // Optional set protocol (default is 1, will work for most outlets) // mySwitch.setProtocol(2); // Optional set number of transmission repetitions. // mySwitch.setRepeatTransmit(15); } void loop() { mySwitch.send("001111110000001100000000");// Device 1 ON delay(1000); mySwitch.send("001111110000000000000000");// Device 1 OFF delay(1000); }
