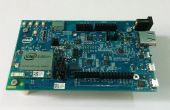
Paso 8: Configuración de la Edison
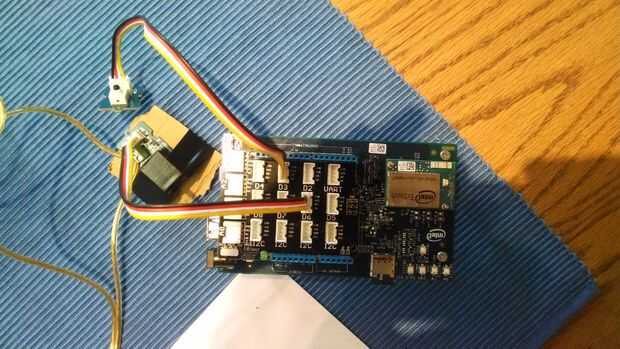
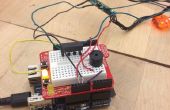
Conecte el relé a la ranura marcada D6 y el sensor de contacto o el botón para la ranura D3 con los cables del conector de 4 pines. Se utilizará el sensor de botón para activar el relé de apertura y cierre.
Que has hecho la configuración del hardware, ahora viene el software!
Arrancar su PC, conecte el Edison con el cable USB (utilizando el interior puerto Micro-USB) y subir este bosquejo:
// Expanded Edison Relay Democonst int buttonPin = 3; // the button is attached to digital pin 3 const int relayPin = 6; // the relay is attached to digital pin 9 const int pinLed = 13; // pin of led define hereint buttonState = 0;void setup() { pinMode(relayPin, OUTPUT); pinMode(buttonPin, INPUT); pinMode(pinLed, OUTPUT); // set led OUTPUT }boolean released = false; void loop() { // read the state of the button: buttonState = digitalRead(buttonPin); if (buttonState == 1) { if(released == true) { digitalWrite(relayPin, HIGH); digitalWrite(pinLed, HIGH); // led on released = false; } } else { if(released == false) { digitalWrite(relayPin, LOW); digitalWrite(pinLed, LOW); // led on released = true; } } //delay(10); } Este script se encenderá el relé cuando se pulsa el sensor táctil botón y lo apaga cuando se suelta el sensor de botón táctil.


