Paso 3: Serie comunicación - el código de
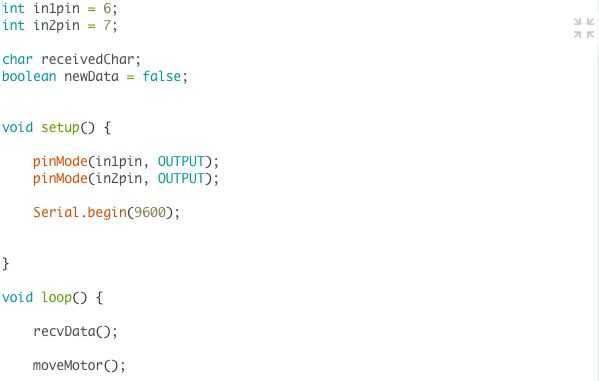
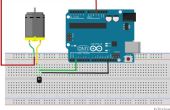
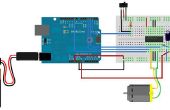
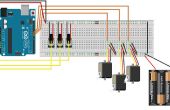
Ahora que tienes tu Arduino cableado, copie y pegue este código en el IDE de Arduino. Lo que hace este código es leído por una señal de que usted escriba manualmente en el monitor Serial. Al introducir 1 o 2, el motor daría vuelta ya sea hacia la derecha o hacia la izquierda para un corto período de tiempo. Experimentar un poco! En múltiples de 1 o 2 y ver qué pasa!
int in1pin = 6;int in2pin = 7; // connections to H-Bridge, clockwise / counterchar receivedChar; // store info boolean newData = false; // create a true/false statementvoid setup() { pinMode(in1pin, OUTPUT); pinMode(in2pin, OUTPUT); // set pins to OUTPUTS Serial.begin(9600); // start up serial communication }void loop() { recvData(); // read and store data moveMotor(); // move motor according to data and then reset }void recvData() { if (Serial.available() > 0) { // if the serial monitor has a reading receivedChar = Serial.read(); // set char to be what is read newData = true; // make statement true } }void moveMotor() { int motordirection = (receivedChar - '0'); // turn recieved data into usable form and give it a name while(newData == true) { Serial.println(motordirection); // print motor direction if (motordirection == 1) { // if it reads 1... digitalWrite(in1pin, HIGH); // turn motor one way digitalWrite(in2pin, LOW); delay(250); } else if (motordirection == 2) { // if it reads 2... digitalWrite(in1pin, LOW); // turn motor other way digitalWrite(in2pin, HIGH); delay(250); } else { // if nothing is read digitalWrite(in1pin, LOW); // motor is off digitalWrite(in2pin, LOW); } newData = false; // reset value to false } }
