Paso 3: código
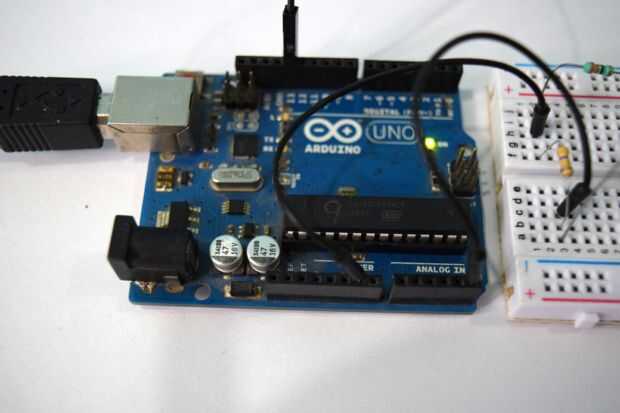
El código de este tutorial se puede encontrar por debajo de
int inPin = 5; // analog 5 int val = 0; // where to store info from analog 5int pin11 = 11; // output of red ledvoid setup() { Serial.begin(9600); }void loop() { val = analogRead(inPin); // reads in the values from analog 5 and //assigns them to val if(val >= 1){ val = constrain(val, 1, 100); // mess with these values val = map(val, 1, 100, 1, 255); // to change the response distance of the device analogWrite(pin11, val); // *note also messing with the resistor should change // the sensitivity }else{ // analogWrite(pin11, val); just tuns on the led with // the intensity of the variable val analogWrite(pin11, 0); // the else statement is just telling the microcontroller // to turn off the light if there is no EMF detected } Serial.println(val); // use output to aid in calibrating } El código no es lee el voltaje en el pin analógico y se enciende el led si se alcanza un cierto voltaje del umbral. Así que el LED se enciende cuando usted trae el dispositivo cerca de una red eléctrica.
