Paso 3: código
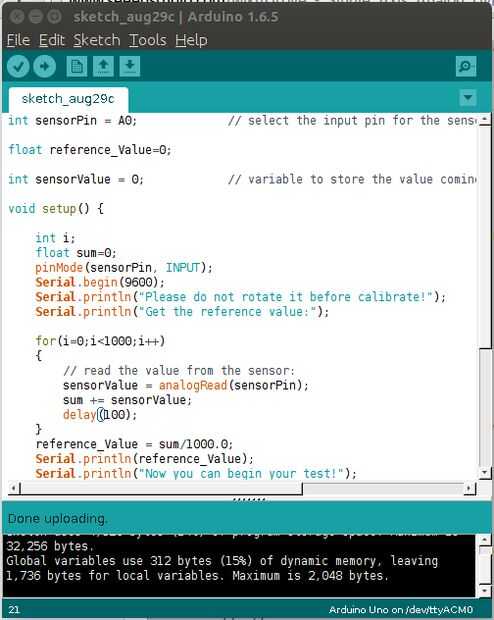
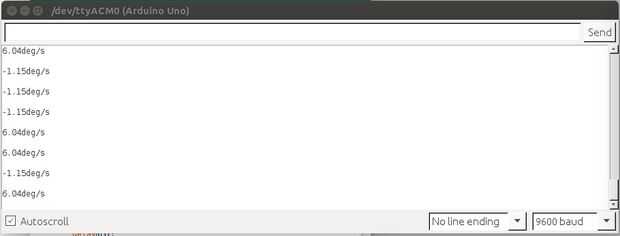
Después de conseguir el hardware conectado a su tiempo ahora para subir el programa, no dude en modificar el código y lo hacen adecuado para su proyecto.
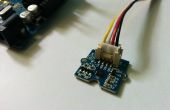
Todo lo que hace el código es lee el valor analógico y no unas matemáticas e imprime hacia fuera en un monitor de la serie. Los datos procesados se pueden utilizar para hacer un sensor de orientación que os enseñaré pronto.
<p>int sensorPin = A0; // select the input pin for the sensor<br> float reference_Value=0;</p><p>int sensorValue = 0; // variable to store the value coming from the sensor</p><p>void setup() {</p><p> int i; float sum=0; pinMode(sensorPin, INPUT); Serial.begin(9600); Serial.println("Please do not rotate it before calibrate!"); Serial.println("Get the reference value:"); for(i=0;i<1000;i++) { // read the value from the sensor: sensorValue = analogRead(sensorPin); sum += sensorValue; delay(5); } reference_Value = sum/1000.0; Serial.println(reference_Value); Serial.println("Now you can begin your test!"); }</p><p>void loop() {</p><p> double angularVelocity; sensorValue = analogRead(sensorPin); angularVelocity =((double)(sensorValue-reference_Value)*4930.0)/1023.0/0.67; //get the angular velocity Serial.print(angularVelocity); Serial.println("deg/s"); Serial.println(" "); delay(10); }</p>
