Paso 8: Está vivo
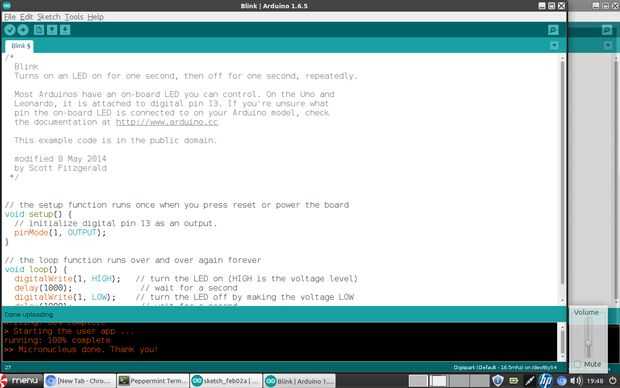
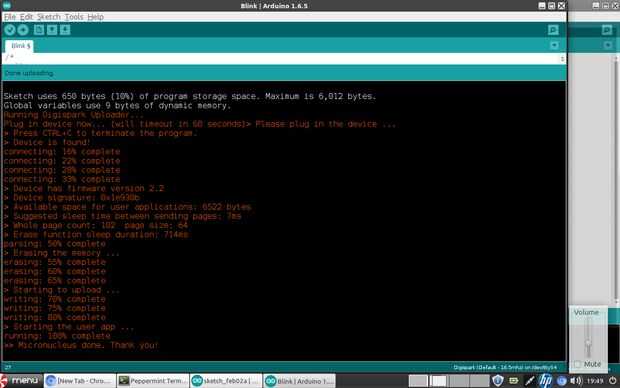
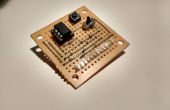
Compilar y flash el bosquejo de parpadeo a la Junta, no te olvides de cambiar el número pin de 13 a 1. Cuando el sistema le solicita, Presione RESET. El LED de inicio debe comenzar a parpadear.
- En el seleccione IDE de Arduino: Board: Digispark(Default-16.5mhz)
- Seleccione programador "Micronúcleos"
- Carga Blink de los bosquejos de ejemplo
- Cambiar todas las referencias a la clavija de 13 a 1
- Haga clic en la compilación y añadir icono, cuando el "esperando... Aparece mensaje Conecte dispositivo ahora"
- Presione el botón de reinicio en el dispositivo ATtiny85
- El LED de inicio ahora debe comenzar a parpadear
Bosquejo de Blink
/* Blink Turns on an LED on for one second, then off for one second, repeatedly. Most Arduinos have an on-board LED you can control. On the Uno and Leonardo, it is attached to digital pin 13. If you're unsure what pin the on-board LED is connected to on your Arduino model, check the documentation at <a href="http://www.arduino.cc" rel="nofollow"> <a href="http://www.arduino.cc" rel="nofollow"> <a href="http://www.arduino.cc"> http://www.arduino.cc </a> </a> </a> This example code is in the public domain. modified 8 May 2014 by Scott Fitzgerald<br> Modified for use with the ATtiny85 project board (January 2016) Pin change to 1. */ // the setup function runs once when you press reset or power the board void setup() { // initialize digital pin 1 as an output. pinMode(1, OUTPUT); } // the loop function runs over and over again forever void loop() { digitalWrite(1, HIGH); // turn the LED on (HIGH is the voltage level) delay(1000); // wait for a second digitalWrite(1, LOW); // turn the LED off by making the voltage LOW delay(1000); // wait for a second }
