Paso 9: Depurador arrancador Sketch
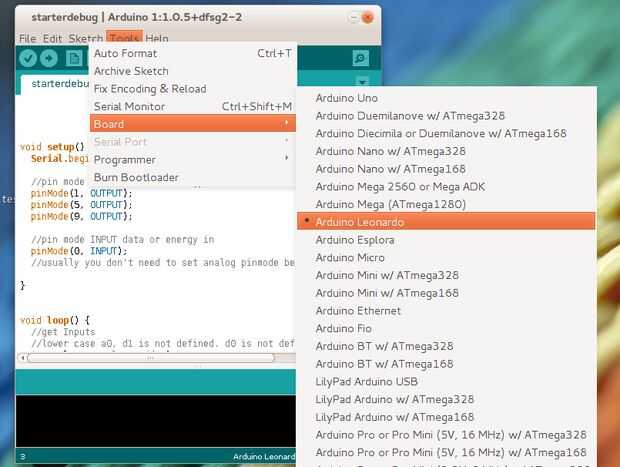
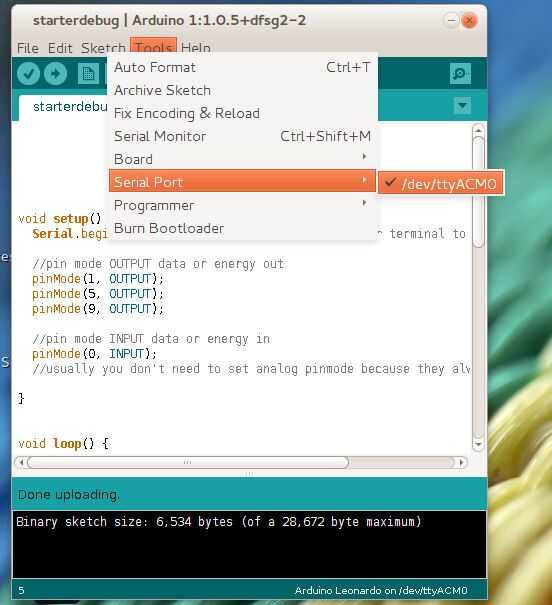
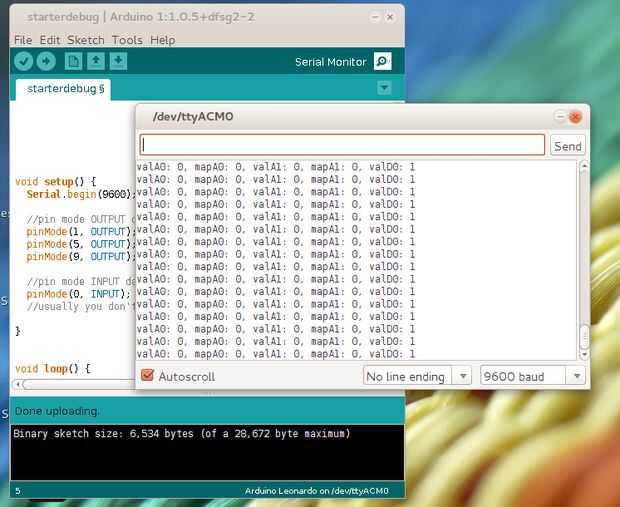
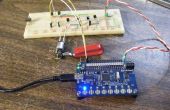
Hay muchas maneras que usted puede crear un boceto del arranque conveniente para ti. Sin embargo, hay tiempo cuando usted necesita descubrir lo que está sucediendo dentro de tu Arduino. Para esta situación hemos utilizado el bosquejo de arranque y agregó la capacidad de Arduino para decirle lo que está haciendo el monitor serie. No dude en explorar y hacer sus propias modificaciones. Comparar y contrastar los bosquejos de dos arranque hemos proporcionado.
Bosquejo de arranque del depurador:
//declare Inputs //lower case a0, d1 is not defined. d0 is not defined. int valA0; int valA1; int valD0; void setup() { Serial.begin(9600); // we need to send data to our terminal to see what is happening //pin mode OUTPUT data or energy out pinMode(1, OUTPUT); pinMode(5, OUTPUT); pinMode(9, OUTPUT); //pin mode INPUT data or energy in pinMode(0, INPUT); //usually you don't need to set analog pinmode because they always take data in } void loop() { //get Inputs //lower case a0, d1 is not defined. d0 is not defined. valA0 = analogRead(A0); valA1 = analogRead(A1); valD0 = digitalRead(0); //interact with world //scale the values for the proper OUTPUT //do not have to scale digital INPUT D0 int mapA0 = map(valA0, 0, 1023, 0, 255); int mapA1 = map(valA1, 0, 1023, 0, 255); //send Outputs digitalWrite(1, valD0); analogWrite(5, mapA0); analogWrite(9, mapA1); //OUTPUT: debug with serial data Serial.print("valA0: "); Serial.print(valA0); Serial.print(", mapA0: "); Serial.print(mapA0); Serial.print(", valA1: "); Serial.print(valA1); Serial.print(", mapA1: "); Serial.print(mapA1); Serial.print(", valD0: "); Serial.println(valD0); delay(15); }
