Paso 3: Prueba de la pantalla
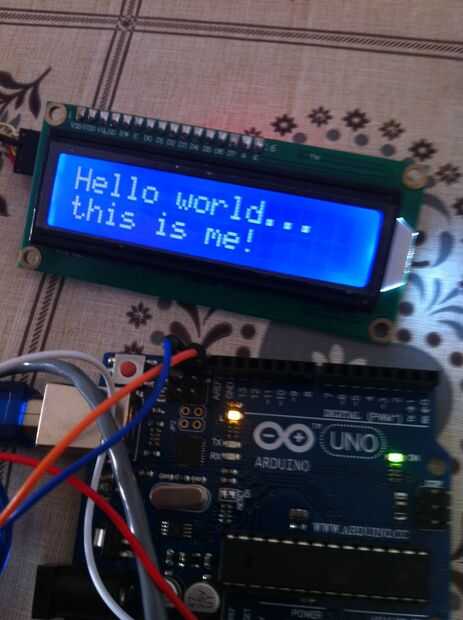
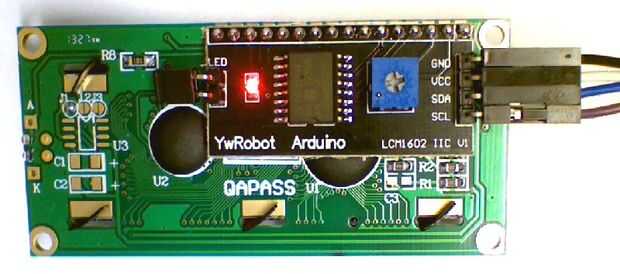
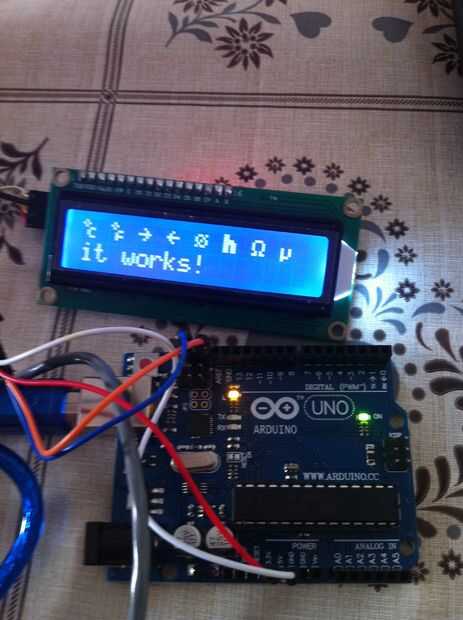

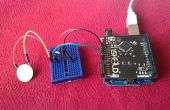
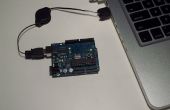
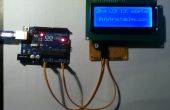
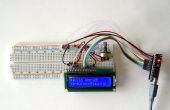
En primer lugar en su Arduino y la pantalla...
con un destornillador, ajustar el brillo girando el tornillo de potetiometer en su espalda, hasta ver unas cajas.
En el Ide de Arduino puedes abrir un nuevo arañazo y escribe el código que adjunto:
Este código se muestra una cadena simple de 2 líneas:
//using DFRobot.com libraries //Compatible with the Arduino IDE 1.0 //Library version:1.1 #include <Wire.h> #include <VirtualWire.h> LiquidCrystal_I2C lcd(0x27,16,2); void setup(){ lcd.init(); // initialize the lcd lcd.backlight(); lcd.home(); lcd.setCursor(0, 0); lcd.print("Hello world..."); lcd.setCursor(0, 1); lcd.print("this is me!"); while(1); } int backlightState = LOW; long previousMillis = 0; long interval = 1000; void loop(){ } //the easiest way to create your own custom character is to create them visually using this web site: <a href="http://mikeyancey.com/hamcalc/lcd_characters.php" rel="nofollow">http://mikeyancey.com/hamcalc/lcd_characters.php</a> and then paste the byte array into your Scratch.
