Paso 2: Paso 2: Plan de
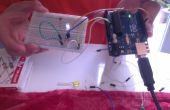
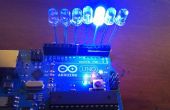
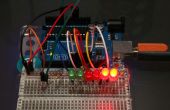
Quería hacer mi primer proyecto de arduino uso luz de alguna manera, pero sin ninguna experiencia previa que quería hacer algo sencillo construir y dinámicas a interactuar con. Por suerte encontré una solución perfecta en los ejemplos integrado de Arduino, que se puede acceder desde aquí, o si estás usando el programa Arduino Sketch que se encuentra en archivo--> ejemplos. Las dos funciones principales que lo utiliza es los ejemplos de "ForLoopIteration" y "Entrada analógica". El "ForLoopIteration" le proporcionará el código básico, con algunas entradas adicionales para el conmutador y los puntos de contacto.
El código es el siguiente:
int timer = 100; // The higher the number, the slower the timing.const int sensorPin = 12; int sensorState = 0;void setup() { // use a for loop to initialize each pin as an output: for (int thisPin = 2; thisPin < 8; thisPin++) { pinMode(thisPin, OUTPUT); } pinMode(sensorPin, INPUT); }void loop() { // loop from the lowest pin to the highest: for (int thisPin = 2; thisPin < 8; thisPin++) { // turn the pin on:sensorState = digitalRead(sensorPin); if (sensorState == HIGH) { digitalWrite(thisPin, HIGH); delay(timer); // turn the pin off: digitalWrite(thisPin, LOW); } else { digitalWrite(thisPin, LOW); } } // loop from the highest pin to the lowest: for (int thisPin = 7; thisPin >= 2; thisPin--) { // turn the pin on:sensorState = digitalRead(sensorPin); if (sensorState == HIGH) { digitalWrite(thisPin, HIGH); delay(timer); // turn the pin off: digitalWrite(thisPin, LOW); } else { digitalWrite(thisPin, LOW); } } }
