Paso 7: Programación PT. 1
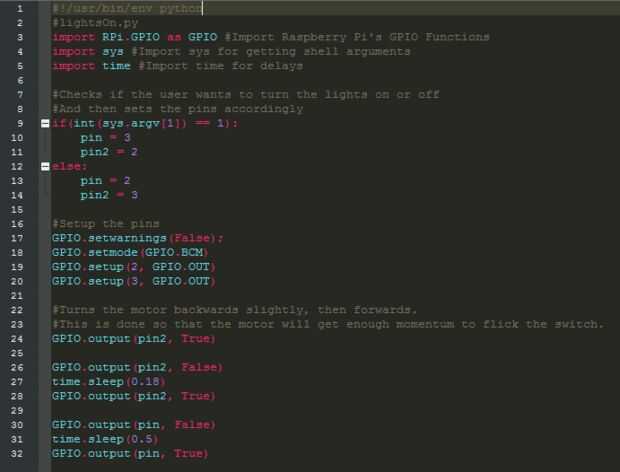
En este proyecto, utilizaremos archivo pin 2 y 3 para controlar el motor en primer lugar, vamos a crear un python para el control del pin.
Desplácese hasta el directorio de apache, que está en/var/www/html/escribiendo el comando siguiente en la ventana de la consola o terminal:
cd /var/www/html
y crear un nuevo archivo se llama "lights.py"
sudo nano lights.py
y a continuación escriba en el siguiente script:
<p>#!/usr/bin/env python<br>#lightsOn.py import RPi.GPIO as GPIO #Import Raspberry Pi's GPIO Functions import sys #Import sys for getting shell arguments import time #Import time for delays</p><p>#Checks if the user wants to turn the lights on or off #And then sets the pins accordingly if(int(sys.argv[1]) == 1): pin = 3 pin2 = 2 else: pin = 2 pin2 = 3</p><p>#Setup the pins GPIO.setwarnings(False); GPIO.setmode(GPIO.BCM) GPIO.setup(2, GPIO.OUT) GPIO.setup(3, GPIO.OUT)</p><p>#Turns the motor backwards slightly, then forwards. #This is done so that the motor will get enough momentum to flick the switch. GPIO.output(pin2, True)</p><p>GPIO.output(pin2, False) time.sleep(0.18) GPIO.output(pin2, True)</p><p>GPIO.output(pin, False) time.sleep(0.5) GPIO.output(pin, True)</p>
Tenga en cuenta que comentarios (las que a partir de un #) no es necesario, y no es necesario escribirlas, excepto el superior.
Continuación, pulse Ctrl+O y luego Enter para guardar el archivo y Ctrl+X para salir fuera del editor.
