Paso 3: programación
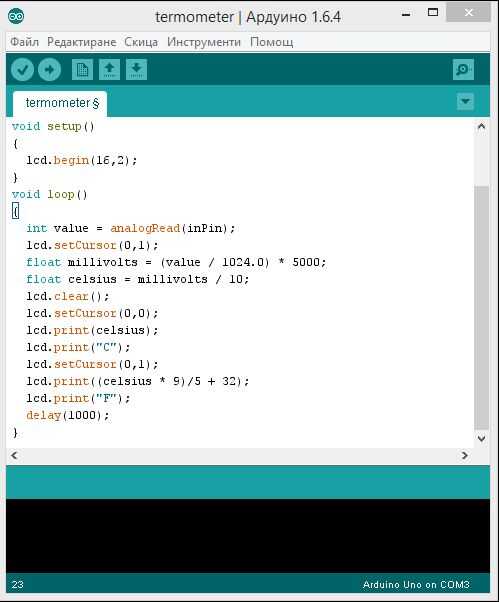
Para conseguir trabajo tienes que usar uno de los dos códigos, subirlo a la arduino y listo!!!
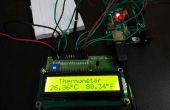
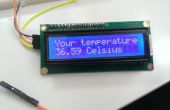
Ahora tienes un termómetro y se puede medir a la temperatura del aire o líquidos.
El primer código es de Gaige Kerns, y puede ser utilizado para leer los datos con LM36 y LM35. Gaige gracias!!!
También Compruebe hacia fuera mi nuevo proyecto termómetro aquí!!!!!!
<p>// include the library code #include // initialize the library with the numbers of the interface pins LiquidCrystal lcd(12, 11, 5, 4, 3, 2); // initialize our variables int sensorPin = 0; int tempC, tempF; void setup() { // set up the LCD's number of columns and rows: lcd.begin(16, 2); } void loop() { tempC = get_temperature(sensorPin); tempF = celsius_to_fahrenheit(tempC); lcd.setCursor(0,0); lcd.print(tempF); lcd.print(" "); lcd.print((char)223); lcd.print("F"); delay(200); } int get_temperature(int pin) { // We need to tell the function which pin the sensor is hooked up to. We're using // the variable pin for that above // Read the value on that pin int temperature = analogRead(pin); // Calculate the temperature based on the reading and send that value back float voltage = temperature * 5.0; voltage = voltage / 1024.0; return ((voltage - 0.5) * 100); } int celsius_to_fahrenheit(int temp) { return (temp * 9 / 5) + 32; }</p> #include <LiquidCrystal.h> LiquidCrystal lcd(12, 11, 5, 4, 3, 2); //Digital pins to which you connect the LCD const int inPin = 0; // A0 is where you connect the sensor void setup() { lcd.begin(16,2); } void loop() { int value = analogRead(inPin); // read the value from the sensor lcd.setCursor(0,1); float millivolts = (value / 1024.0) * 5000; float celsius = millivolts / 10; lcd.clear(); lcd.setCursor(0,0); lcd.print(celsius); lcd.print("C"); lcd.setCursor(0,1); lcd.print((celsius * 9)/5 + 32); //turning the celsius into fahrehait lcd.print("F"); delay(1000); }
