Paso 3: código
Ahora vamos a escribir el código:
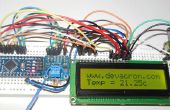
#include <LiquidCrystal.h> //Include the library that enables you to use the LCD.<br> const int sensorPin = A0;//Declare that your sensor is connected to pin A0 on your arduino.
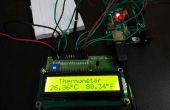
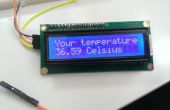
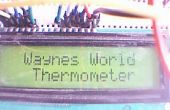
LiquidCrystal lcd(2,3,4,5,6,7);//Declare that your LCD is connected to pins 2,3,4,5,6 & 7 on your arduino.<br> void setup() { for(int pinNumber = 2; pinNumber<8; pinNumber++){ pinMode(pinNumber,OUTPUT);//These two lines mean that the LCD pins are outputs for the Arduino } } void loop() { int sensorVal = analogRead(sensorPin);//Declare that you read the data coming from the sensor float voltage = (sensorVal/1024.0) * 5.0;//Change the value of the data (0-1024) to a voltage (0-5) float temperature = (voltage - .5) * 100;//Translate this voltage to a temperature. lcd.begin(16, 2);//16 by 2 are the dimensions of the LCD (in number of characters) lcd.print(temperature);//print the temperature on the LCD lcd.print(" *C");//print "degrees Celsius" on the LCD. delay(1500);//print the text on the LCD every 1.5 second. This will enable the Arduino to print the exact temperature at approximately the right moment without making the screen blink. }
