Paso 1: Subir código, tomar fotos!
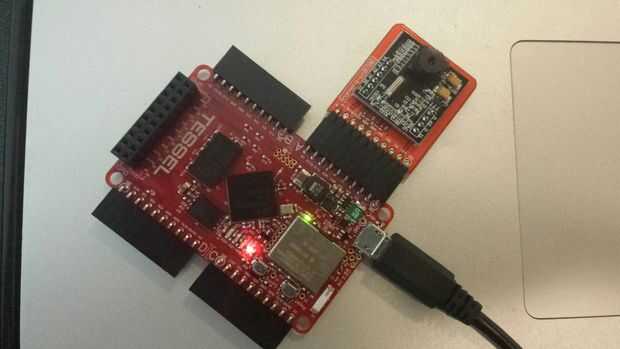
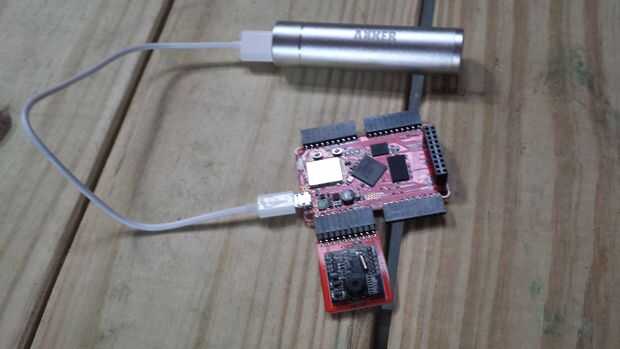
Aquí está el código que necesitas:
<p>// Require libraries<br>var tessel = require('tessel'); var camera = require('camera-vc0706').use(tessel.port['A']); // Set up an LED to notify when we're taking a picture var notificationLED = tessel.led[3]; // When the camera is ready, print a message in the console. camera.on('ready', function () { console.log('Press the config button to take a picture!'); }); // When we press a button... tessel.button.on('press', function() { notificationLED.high(); // Take the picture camera.takePicture(function(err, image) { if (err) { console.log('error taking image', err); } else { notificationLED.low(); // Name the image var name = 'picture-' + Math.floor(Date.now()*1000) + '.jpg'; // Save the image console.log('Picture saving as', name, '...'); process.sendfile(name, image); console.log('Picture saved.'); } }); }); // If there is an error, report it. camera.on('error', function(err) { console.error(err); });</p> - Crear una carpeta. En esa carpeta, guarde el código como un archivo de texto llamado camera.js.
- En la línea de comandos, desplácese al lugar ha guardado camera.js
- Ejecute 'MNP instalar tessel' si no ya tienes Tessel instalada a nivel mundial.
- Ejecutar 'MNP instalar cámara-vc0706' para instalar la biblioteca de la cámara.
- Ahora ejecute 'tessel ejecutar camera.js - subir-dir.'. El indicador de carga-dir permite especificar dónde se guardan las fotos.
- Tomar fotos!
