Paso 6: Programa del transmisor
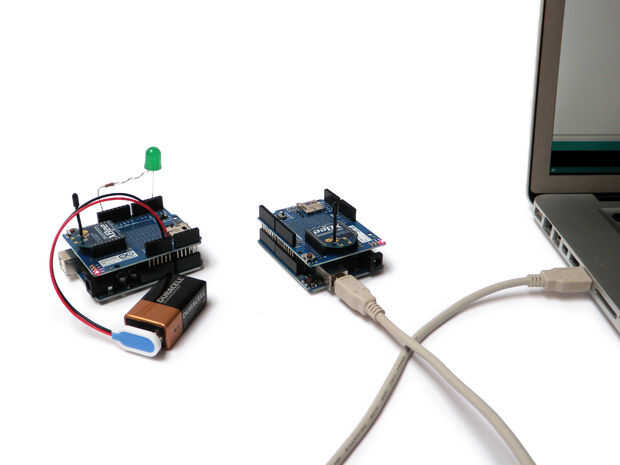
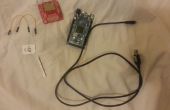
Antes de cargar ningún código para el Arduino, abra al monitor serie. Escribe en «h» y pulsa el botón "enviar". El LED en el receptor deberá encenderse. Han hecho una conexión inalámbrica!
Fantástica.
Ahora añadir el siguiente código:
/* Wireless transmitter demo Based on Button example code http://www.arduino.cc/en/Tutorial/Button created 2005 by DojoDave <http://www.0j0.org> modified 28 Oct 2010 by Tom Igoe The circuit: * pushbutton attached to pin 2 from +5V * 10K resistor attached to pin 2 from ground This code is in the public domain. */ // constants won't change. They're used here to // set pin numbers: const int buttonPin = 2; // the number of the pushbutton pin // variables will change: int buttonState = 0; // variable for reading the pushbutton status void setup() { // initialize serial communication: Serial.begin(9600); // initialize the pushbutton pin as an input: pinMode(buttonPin, INPUT); } void loop(){ // read the state of the pushbutton value: buttonState = digitalRead(buttonPin); // check if the pushbutton is pressed. // if it is, the buttonState is HIGH: if (buttonState == HIGH) { //transmit a High command to the pumpkin and delay a second so that it does not receive more than one command //per button press Serial.println('h'); delay(1000); } }
