Paso 2: Agregar los insumos digitales básicos
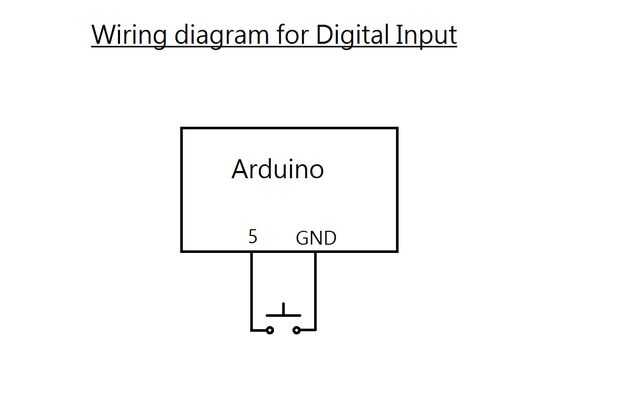
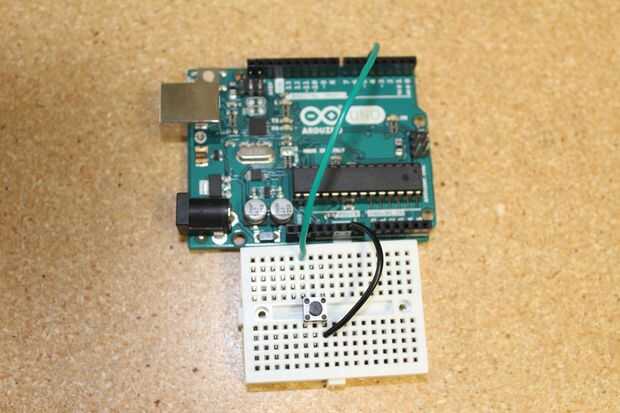
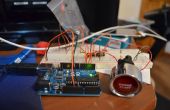
Ahora que conocemos los fundamentos de una sentencia switch, podemos añadir en una entrada digital básica. Usaremos un botón para activar el movimiento al siguiente estado.
En el primer caso, usaremos un contador para almacenar cuánto ha pulsado el botón. Una vez que se ha llevado a cabo durante 5 segundos, trasladaremos al siguiente estado. Mira el serial monitor para ver cuando se realiza el programa.
Ver el código de abajo y luego subirlo para ver cómo funciona antes de pasar al siguiente paso.
Ya que estos son solo programas de prueba, puede dejar el tablero conectado a la computadora para que el Arduino puede recibir energía.
/* This code is to show how a digital input can move through cases in a switch statement. The button must be pressed 5 times to move on. Written by Progressive Automations Sept 21, 2015 This code is in the public domain */ const int button = 5;//attach the button on pin 5 int programCount = 0;//variable to move through the program int buttonCount = 0;//variable to hold the button presses int buttonState = 1;//variable to hold the state of the button void setup() { Serial.begin(9600);// initialize serial communication: programCount = 0;//start at the beginning buttonCount = 0;//set to 0 to start pinMode(button,INPUT);//set the button as an input digitalWrite(button, HIGH);//enable internal pullup resistor Serial.println("Hold the button for 5 seconds to complete the program"); }//end setup void loop() { switch (programCount) { case 0: buttonState = digitalRead(button); if (buttonState==0) { buttonCount = buttonCount+1;//count up every time the button is pressed delay(1);//small delay for counting milliseconds } if (buttonCount == 5000) programCount = 1;//once the button is pressed enough times, move on break; case 1: Serial.println("Button has been held for 5 seconds");//print the number delay(1000); programCount = 2; break; default: Serial.println("Program complete"); while(1); //freeze the program here }//end switch }//end loop
